Address
304 North Cardinal
St. Dorchester Center, MA 02124
Work Hours
Monday to Friday: 7AM - 7PM
Weekend: 10AM - 5PM
Address
304 North Cardinal
St. Dorchester Center, MA 02124
Work Hours
Monday to Friday: 7AM - 7PM
Weekend: 10AM - 5PM
Gigabyte ga-h61m-s1 mainboard cannot be powered on for repair
Motherboard model: Gigabyte GA-H61M-S1 Motherboard
Malfunction: motherboard Won’t Turn On
Maintenance process:
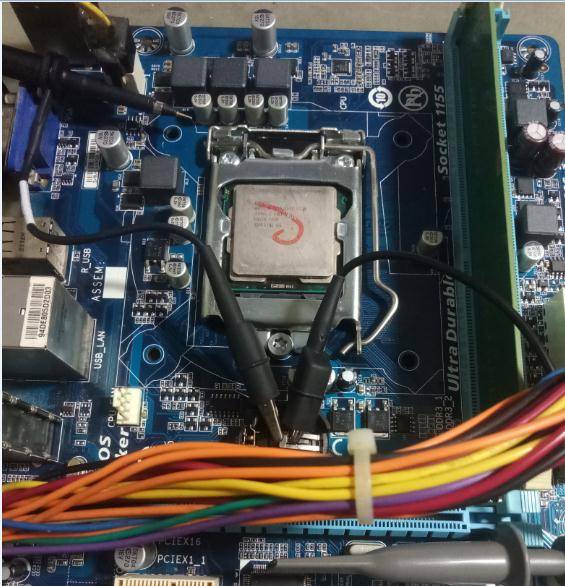
Gigabyte-H61M-S1 motherboard is auto power off which is turned on for 1 second, and all VCC’ s are available instantly, and the reset has also come out. Sometimes auto power off can be displayed after running one or two codes, but auto power off is required within 10 seconds.
Measured by multimeter, all VCC’ s are normal in an instant, with no low or high phenomenon. The detection of 12V and 5V is also normal, and the boot circuit VCC, such as boot needle array and RSMRST, is also normal. It should be EN, PG,VCC unstable that caused VCC.
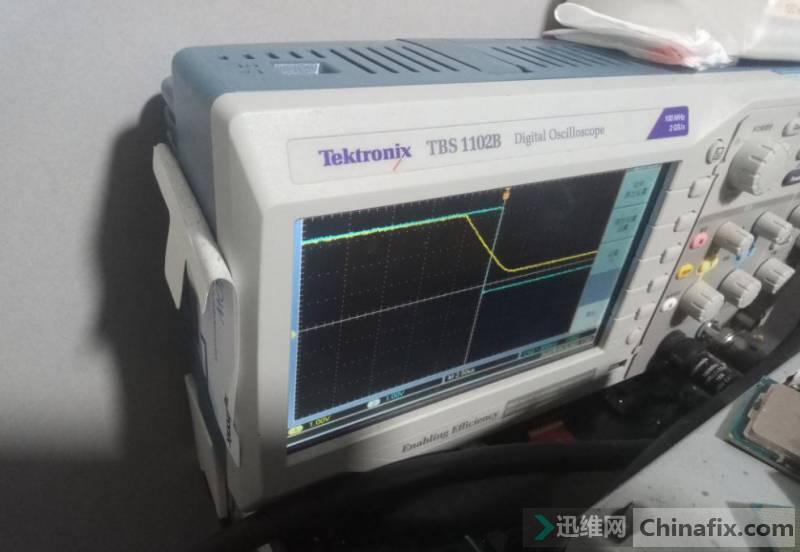
Capture waveforms with two channels of oscilloscope.
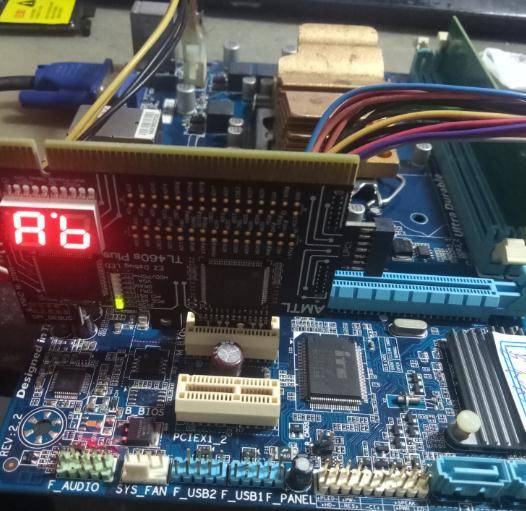
Gigabyte ga-h61m-s1 mainboard cannot be powered on for repair Figure 1.
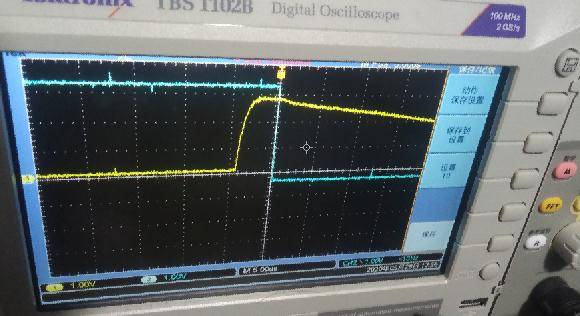
The second channel is connected to SLP_S3. Test CPU VCC first, and test CPU VCC in the first channel, and compare S3 as follows:
Gigabyte ga-h61m-s1 mainboard cannot be powered on for repair Figure 2.
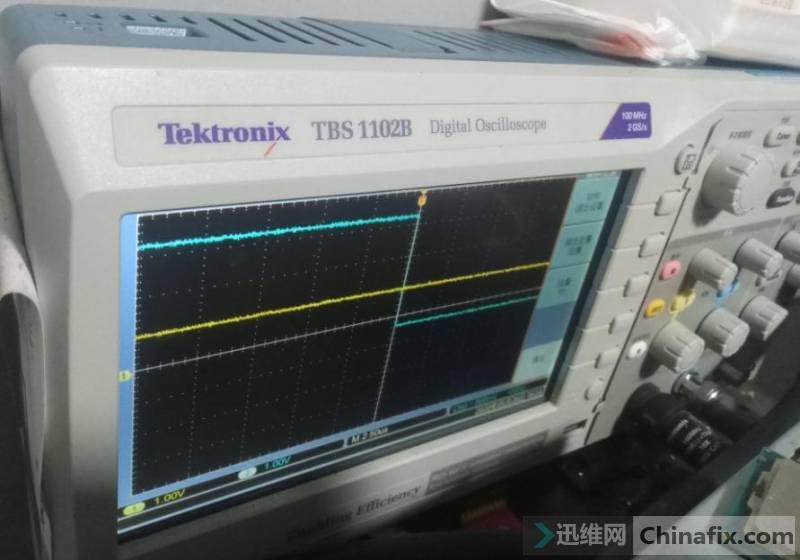
The blue line is SLP_S3, and the yellow line is CPU VCC. SLP _ S3 has dropped, but CPU VCC has not changed, not dropped at the same time. It is excluded that CPU VCC causes VCC.
S3 auto power off, CPU VCC is a straight line. Set the time tone to 5MS, and obviously CPU VCC falls.
Gigabyte ga-h61m-s1 mainboard cannot be powered on for repair Figure 3.
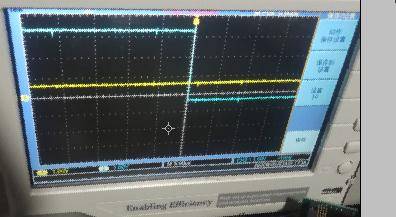
Measure 1.8VPLL VCC, and compare with figure S3:
Gigabyte ga-h61m-s1 mainboard cannot be powered on for repair Figure 4.
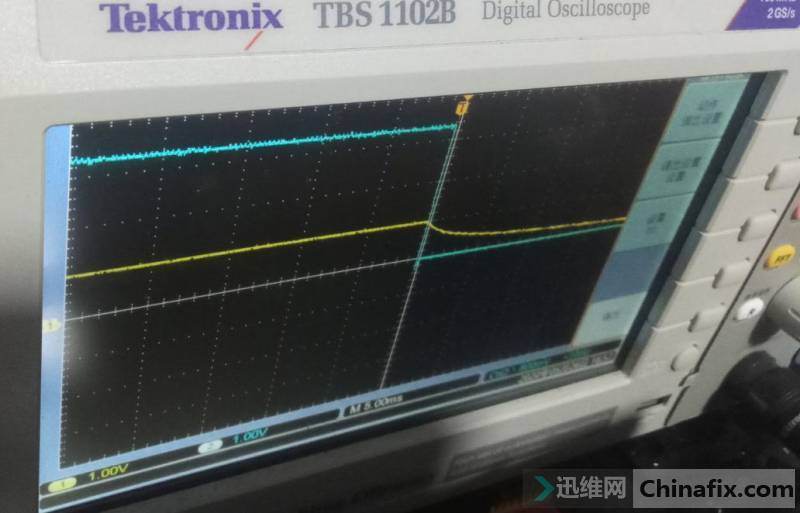
Or S3 fell down. 1.8V fell slowly, not caused by VCC.After comparing VTT, DDR, vccsa, PCH and other VCC, no fault was found.Direct measurement of vrmpwrgd is PG signal of CPU VCC.
Gigabyte ga-h61m-s1 mainboard cannot be powered on for repair Figure 5.
It is found that it is auto power off at the same time. Adjust the time to 2.5us. It is obvious that the PG of CPU VCC drops first, and the blue line SLP_S3 followed auto power off for a few microseconds.
Gigabyte ga-h61m-s1 mainboard cannot be powered on for repair Figure 6.
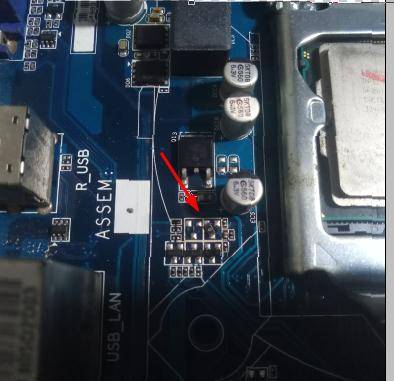
It should be S3 auto power off caused by PG unstable. Remove MOSFET directly. Although it is not auto power off, it still does not run out of code.
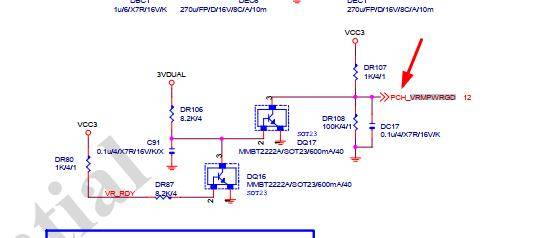
After further investigation, we found that the B pole of DQ16 was abnormally low, which led to the abnormality of vrmpg.

Gigabyte ga-h61m-s1 mainboard cannot be powered on for repair Figure 7.
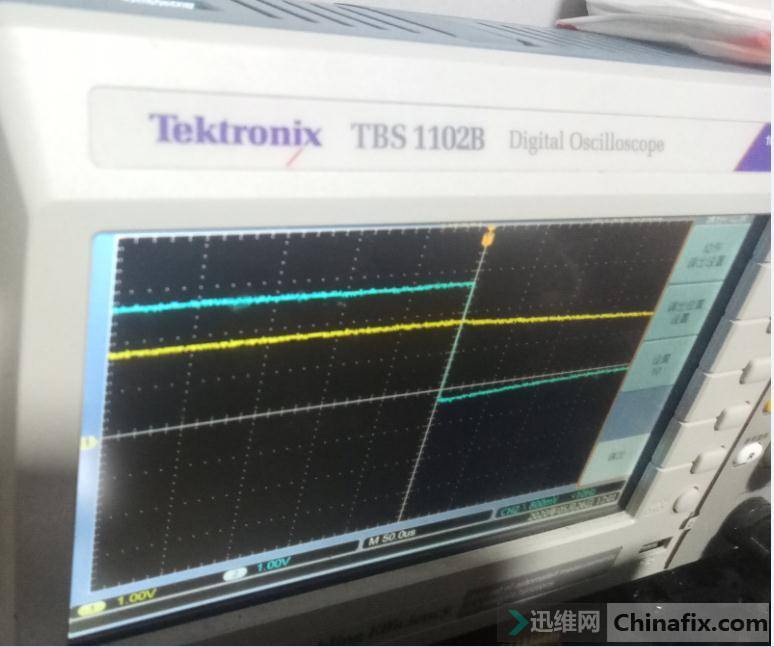
19 pin VR of isl95836 was measured_RDY, found to be caused by CPU VCC chip.
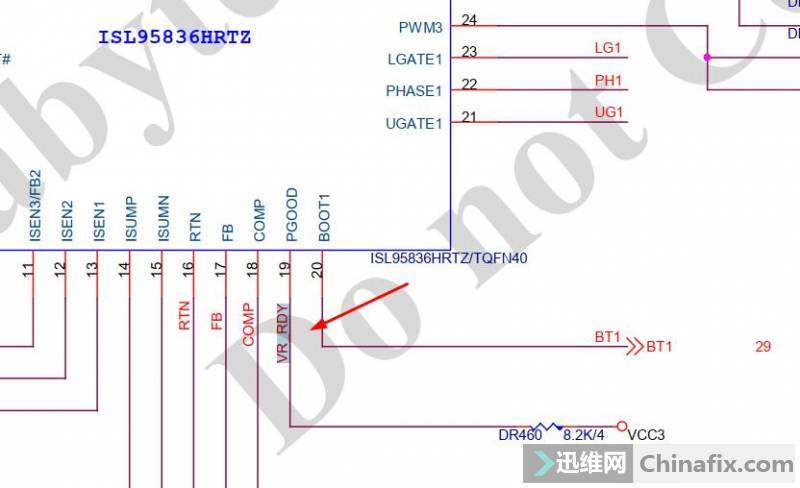
Gigabyte ga-h61m-s1 mainboard cannot be powered on for repair Figure 8.
Isl95836 suddenly lowered PGOOD:
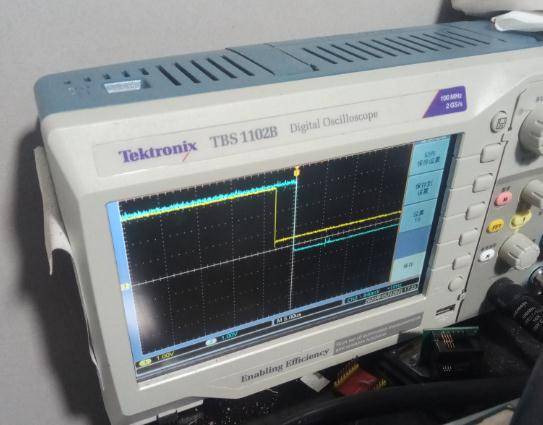
Gigabyte ga-h61m-s1 mainboard cannot be powered on for repair Figure 9.
That is CPU VCC, there is a slight Short circuit, or CPU VCC chip and the surrounding over-current pressure detection problems.Check the chip manual. There are three ways to control PGOOD, all of which are over-current and over-voltage.
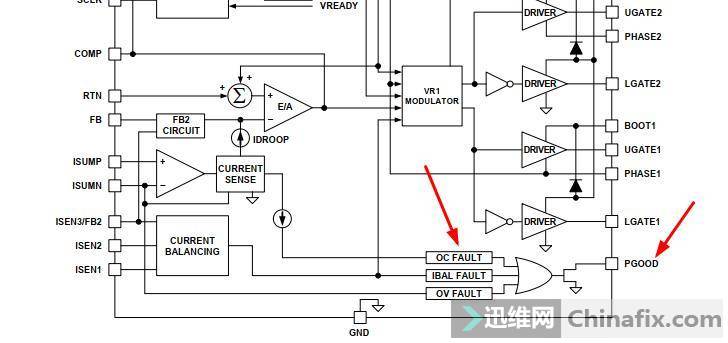
Gigabyte ga-h61m-s1 mainboard cannot be powered on for repair Figure 10.
Directly replace the CPU VCC chip, or the same.Three phase VCC, one phase one phase exclusion, is the same.Test the start of CPU VCC, and the problem is detected.

Gigabyte ga-h61m-s1 mainboard cannot be powered on for repair Figure 11.
It is caused by the start of CPU VCC.
Gigabyte ga-h61m-s1 mainboard cannot be powered on for repair Figure 12.
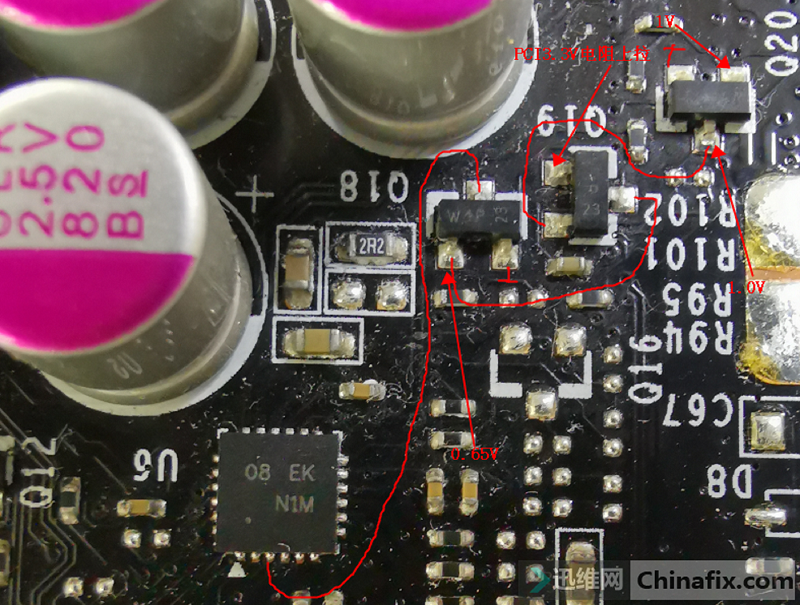
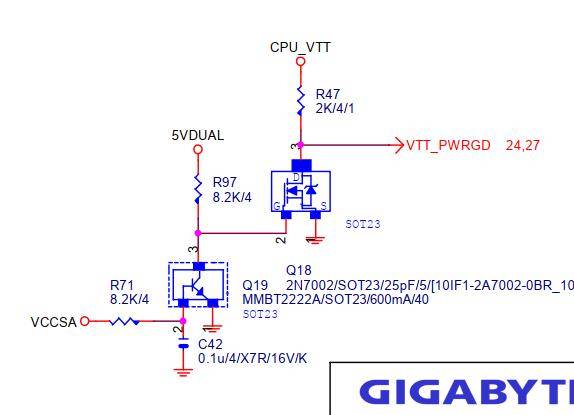
Measure the opening of MOSFET Q19 C pole of CPU VCC(abnormal elevation).
Gigabyte ga-h61m-s1 mainboard cannot be powered on for repair Figure 13.
Measure Q19 B pole: (always normal high).
Gigabyte ga-h61m-s1 mainboard cannot be powered on for repair Figure 14.
Connect directly to Q19 CE pole and remove Q18.
Gigabyte ga-h61m-s1 mainboard cannot be powered on for repair Figure 15.
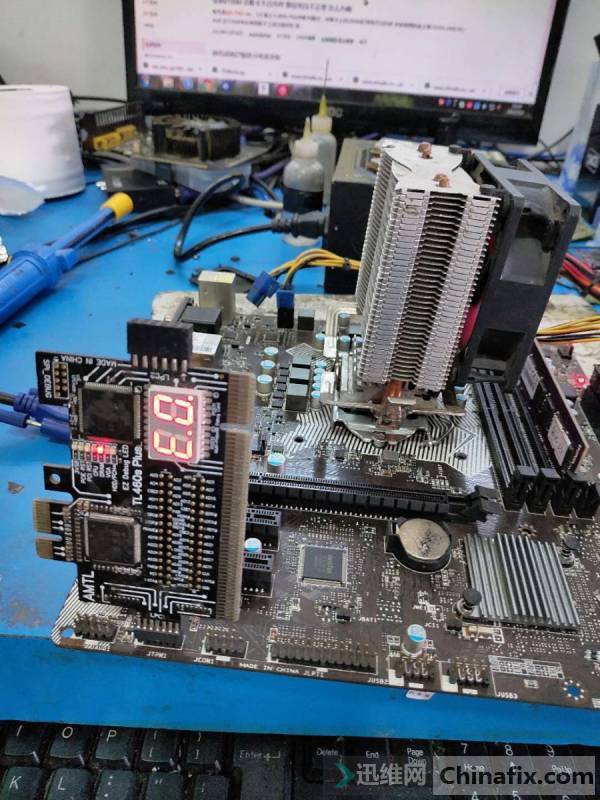
Boot test is normal, not auto power off, run code.
Gigabyte ga-h61m-s1 mainboard cannot be powered on for repair Figure 16.