Address
304 North Cardinal
St. Dorchester Center, MA 02124
Work Hours
Monday to Friday: 7AM - 7PM
Weekend: 10AM - 5PM
Address
304 North Cardinal
St. Dorchester Center, MA 02124
Work Hours
Monday to Friday: 7AM - 7PM
Weekend: 10AM - 5PM
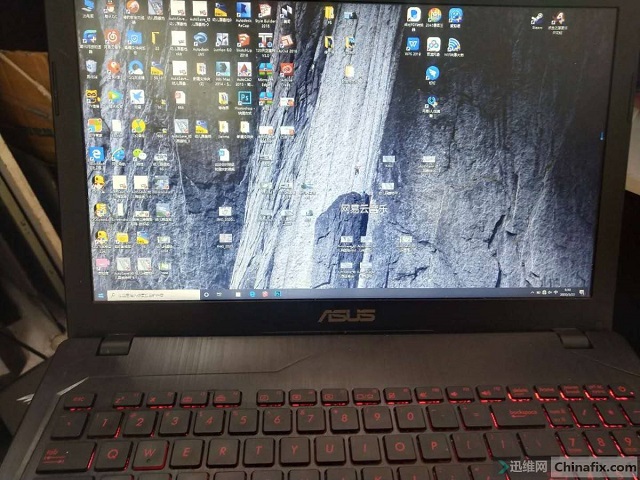
ASUS GL553VW_2.0 notebook water damage Won’t Turn On repair
Machine model: ASUS GL553VW_2.0
Trouble phenomenon: Notebook water damage Won’t Turn On
Maintenance process: After the water, I took a few days, today is not powered, quickly remove the motherboard.
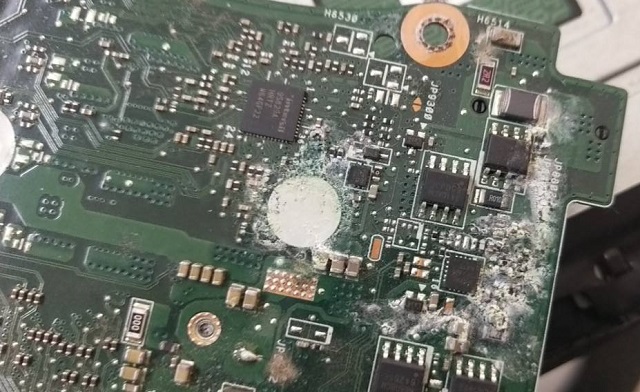
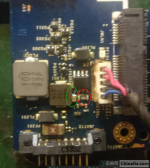
ASUS ASUS GL553VW_2.0 notebook water damage Won’t Turn On repair Figure 1.
Use Cleaning solvent to clean the part of corrode. At least 4 resistors will be removed by brushing. The seventh generation of I7 processor, found the drawing of this machine on the Xunwei forum, the board number is: Asus GL553VW_2.0.

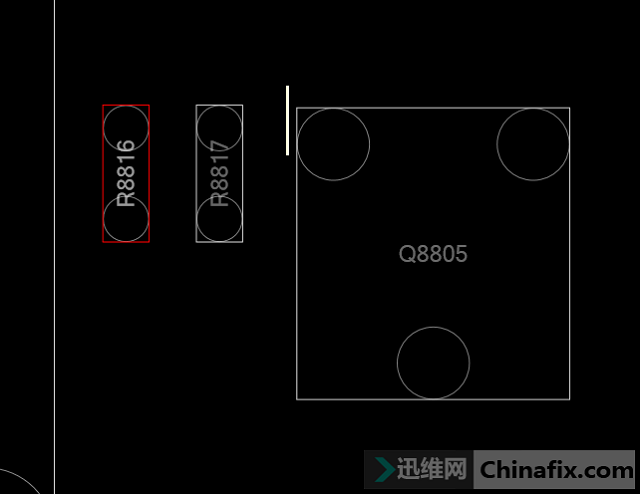
ASUS ASUS GL553VW_2.0 notebook water damage Won’t Turn On repair Figure 2.
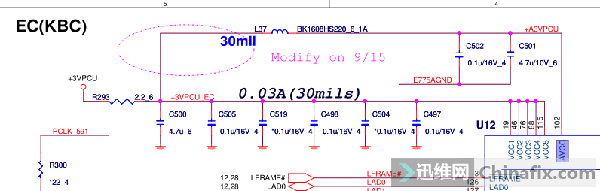
Find the chip resistors that have been washed away. The R8816 resistors are washed off. Look at the drawing 2M. R8809 is 4.02K, R8805 is 432K, R8807 is 68K, and R8804 is also 432K. Except for the 2M resistor of R8816, it is hard to find.
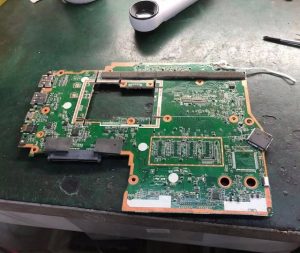
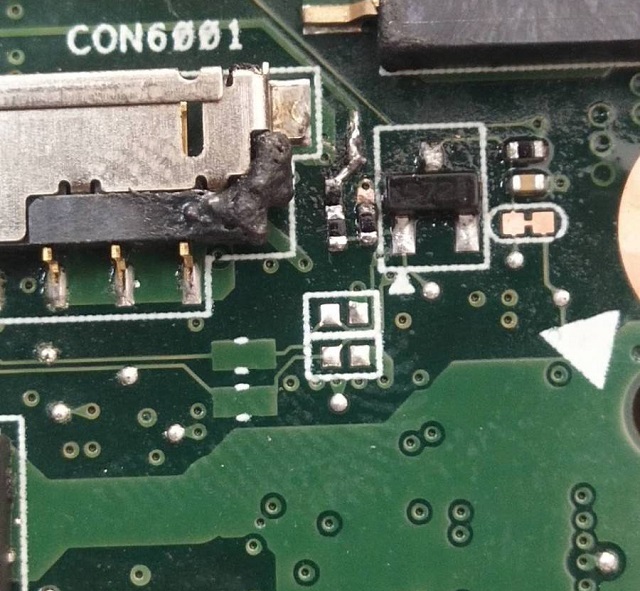
ASUS ASUS GL553VW_2.0 notebook water damage Won’t Turn On repair Figure 3.
Find these resistors from the scrap motherboard to make up. The 2M resistor is not found, then find two 1M resistors in series to make up, and the power is still there. There is no VCC in the common point!
ASUS ASUS GL553VW_2.0 notebook water damage Won’t Turn On repair Figure 4.
ASUS ASUS GL553VW_2.0 notebook water damage Won’t Turn On repair Figure 5.
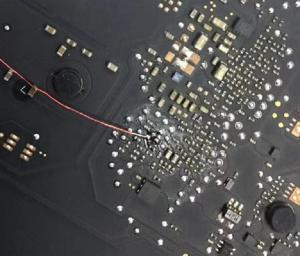
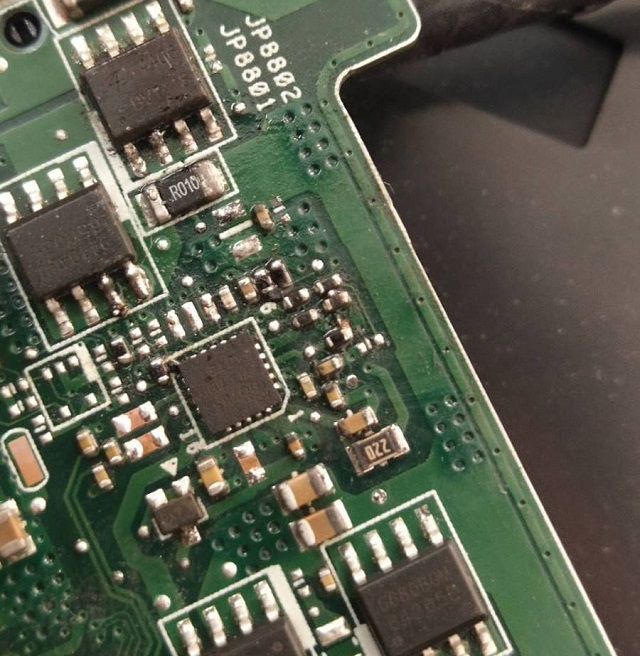
According to the measurement of the drawings, the peripheral conditions of the charging chip are all satisfied, and the charging chip BQ24735 is directly replaced. Finally,VCC is coming out at the public point, and the maintenance is over!
ASUS ASUS GL553VW_2.0 notebook water damage Won’t Turn On repair Figure 6.