Address
304 North Cardinal
St. Dorchester Center, MA 02124
Work Hours
Monday to Friday: 7AM - 7PM
Weekend: 10AM - 5PM
Address
304 North Cardinal
St. Dorchester Center, MA 02124
Work Hours
Monday to Friday: 7AM - 7PM
Weekend: 10AM - 5PM
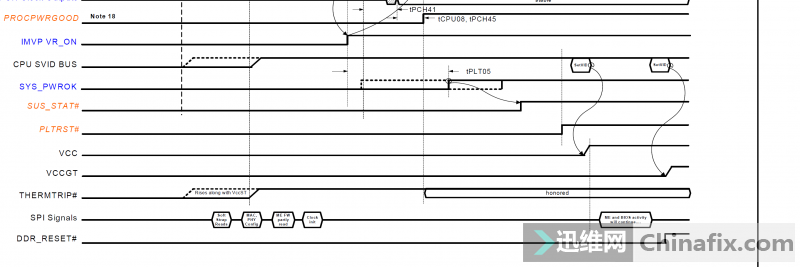
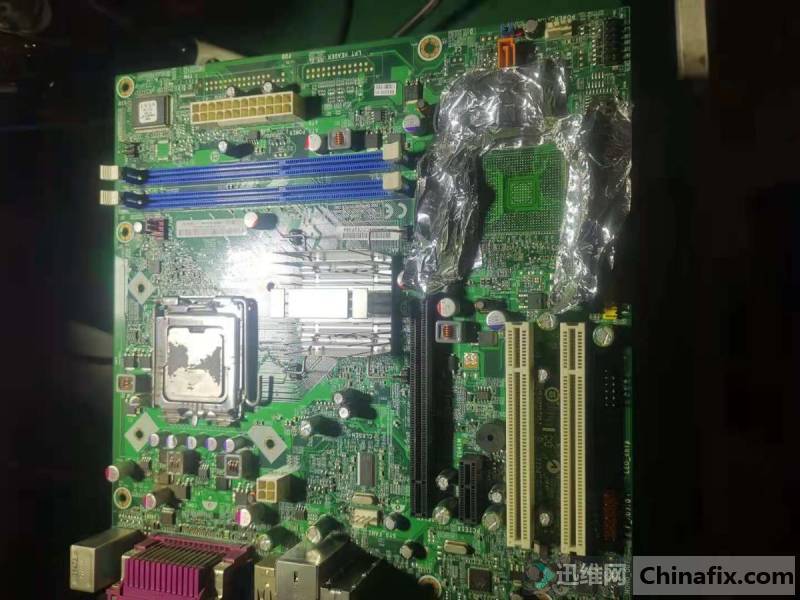
ASUS G41 mainboard south bridge damage repair
The South Bridge of ASUS G41 mainboard was damaged, which caused the computer to be unable to start normally. The tin ball was reinforced again, installed and tested, and the fault was repaired.
Machine model: ASUS G41.
Fault phenomenon: the computer can not boot normally, the South Bridge is damaged.
Maintenance process:
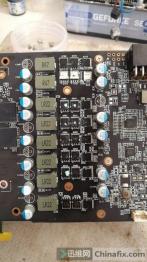
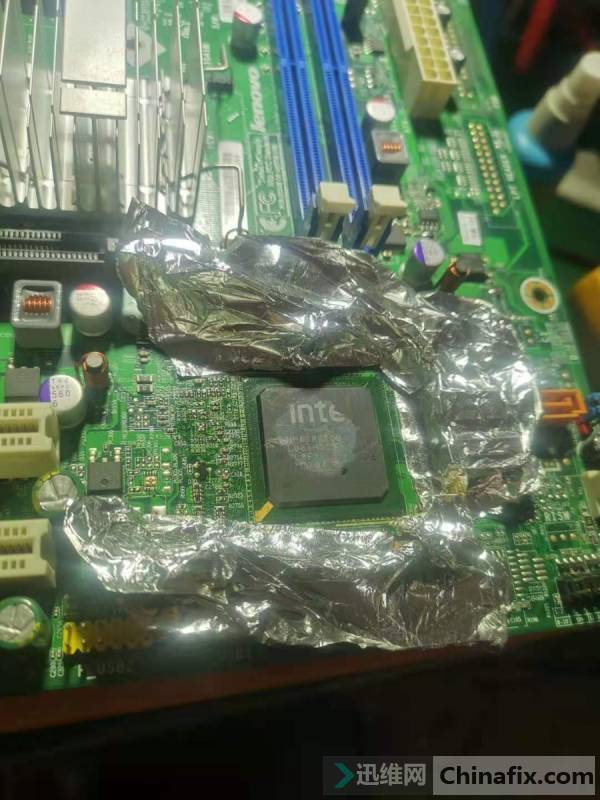
1.This is G41. Take down the original G41 and replace it with plastic tape.
ASUS G41 mainboard south bridge damage repair Figure 1.

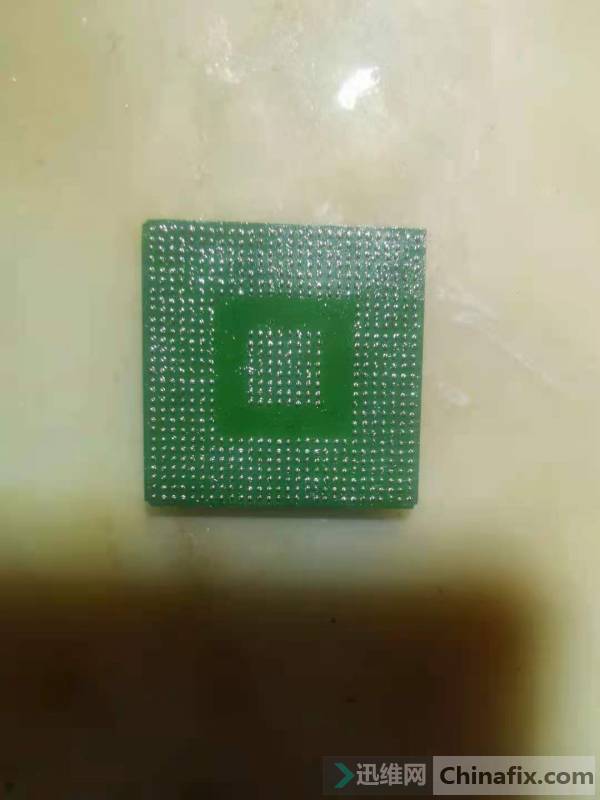
ASUS G41 mainboard south bridge damage repair Figure 2.
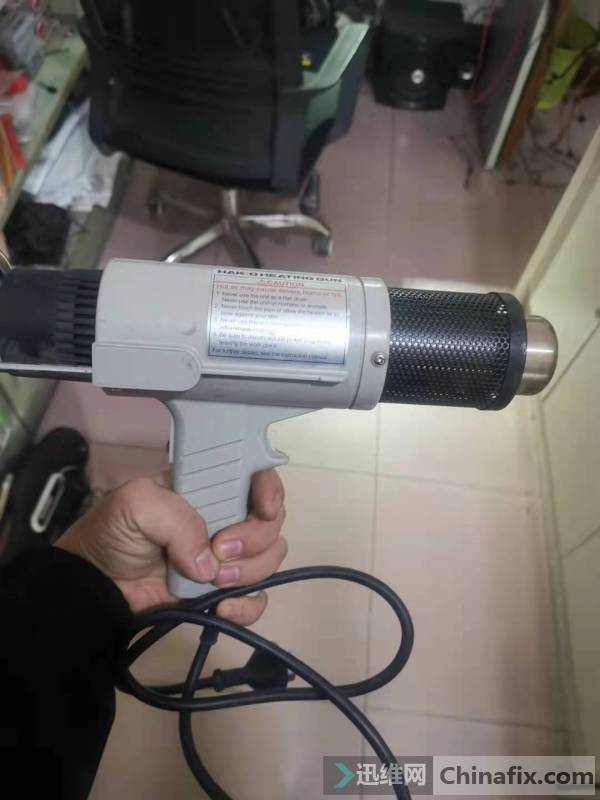
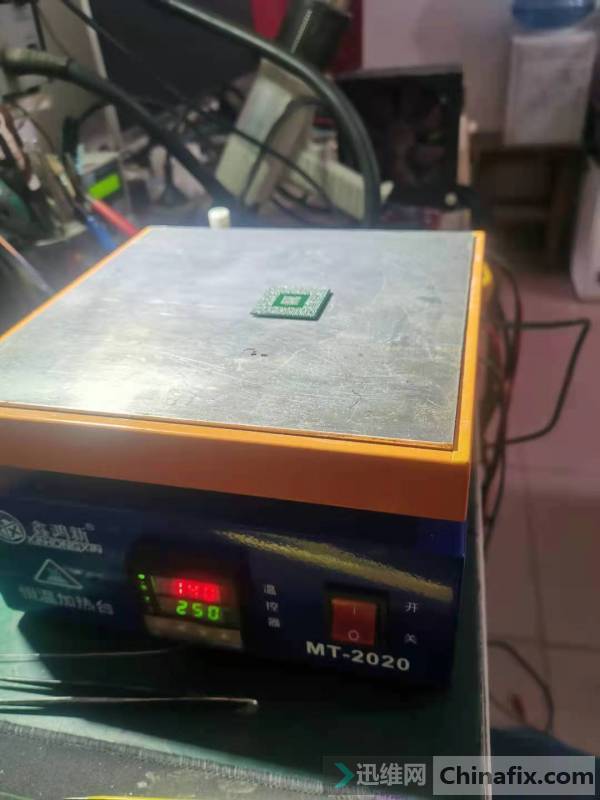
2. Preheat the bottom of the constant temperature preheating table at 250 ℃. When the temperature is up to 220 ℃, the top is blown with a clay gun, which is easy to take down.
This is the earth cannon I bought before.Almost rarely used, dry down the South Bridge of Lenovo G41.
ASUS G41 mainboard south bridge damage repair Figure 3.
ASUS G41 mainboard south bridge damage repair Figure 4.
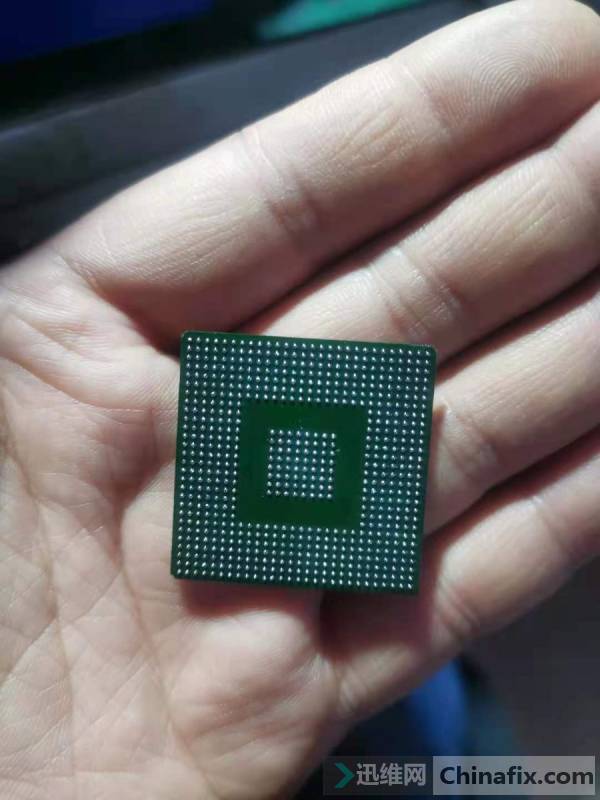
3.Memory of Stencil, but the reality is more cruel, not found.The omnipotent is not suitable.After repeated hesitation, manually point tin balls with tweezers. Only 0.45 is found. This process takes 1.5 hours.This is how the tin ball looks.A lot of things are going wrong.
ASUS G41 mainboard south bridge damage repair Figure 5.
4.Heat the upper preheating table.When the solder beads are almost melted, gently put some flux on it to help it return to its original position.It’s almost the same. It’s heated with SMD REWORK STATION.
ASUS G41 mainboard south bridge damage repair Figure 6.
5.The value of the South Bridge is good, but the tin bead is a little too small.
ASUS G41 mainboard south bridge damage repair Figure 7.
6.Clean the main board PAD, and then apply some flux.The bottom is 230 degrees, and the top is blown with earth cannon. When appropriate, gently touch the South Bridge with tweezers, which can shake and push a few times.
ASUS G41 mainboard south bridge damage repair Figure 8.
7.After cooling,Crystal, USB lighting cable and diode value of Capacitor around Nanqiao were measured. There were no Short circuit and Open.
Then test the machine.Successfully lit.
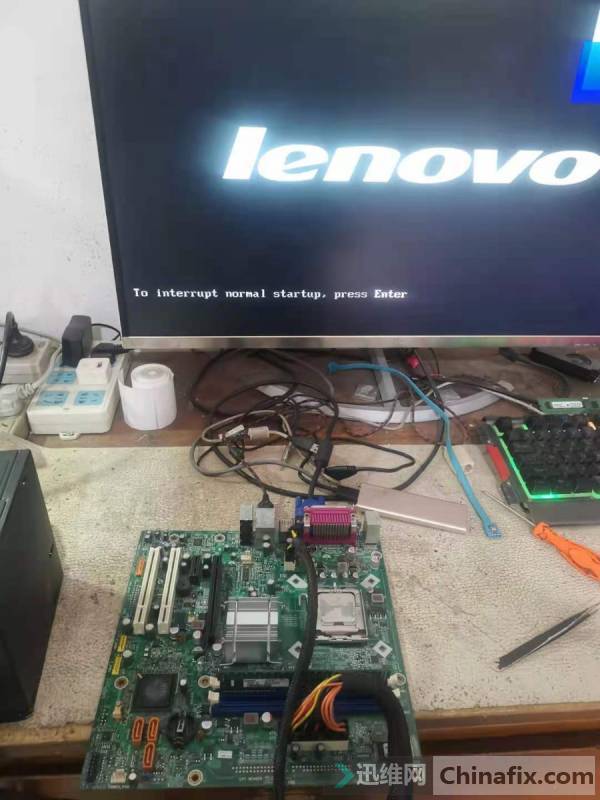
ASUS G41 mainboard south bridge damage repair Figure 9.
8.After entering BIOS, the next few USB and network cards are normal. After installing the device into the system test, it can be used normally. The repair is over!

ASUS G41 mainboard south bridge damage repair Figure 10.